NEWS, EVENTS & BLOG
BLOG
From Box to Boot: Bringing Up Your Embedded Computer
![]() Press Office, VersaLogic Corporation, 06/20/22
Press Office, VersaLogic Corporation, 06/20/22
First Impressions
You’ve just received your new embedded computer. You’re excited to get it fired up and to start verifying the performance of your application on this target hardware.
Not to worry, it’s a simple process and you don’t need to be a hardware expert. The process consists of three stages to take you from box to boot:
- Prepare
- Connect
- Power up
We’ll use VersaLogic’s Owl as an example; however, the process is similar for most products in the VersaLogic portfolio.
 Your board has arrived and you want to get started!
Preparation
As with anything you undertake, good preparation makes for good results. The first part is to make sure you have all the parts you need:
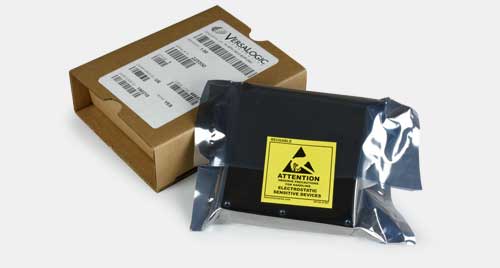
- The embedded computer – in this example, the Owl
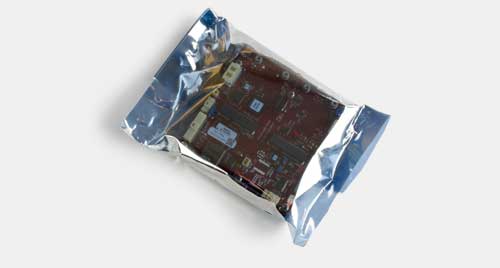
 The Owl is packaged in an ESD protective bag
 - A cable kit – usually available from the embedded board supplier

 A typical cable kit
 - Readily available Human Machine Interface (HMI) devices such as keyboard, mouse, and display monitor
Other I/O and expansion components, such as:
- Data storage. In the case of the Owl, a SATA SSD, or an mSATA card
- Power supply. An ATX power supply or one provided by the board manufacturer
- External drives: If required, a CD-ROM drive, USB storage device, etc
Because you’ll be working with an unenclosed board, you will need to take electrostatic discharge (ESD) precautions. You’ll need:
- An ESD-safe work surface
- An ESD jacket or smock
- A grounded wrist strap
- A foot strap or ESD-compliant shoes
For more information on ESD protection, here’s a blog “Eight Steps to an Effective ESD Control Program” that contains additional details and also has links to industry resources such as the ESD Association.
Now that you are ESD safe you can take the embedded board out of its ESD bag and place it on the work bench.
Getting Connected
A typical setup is going to require a power source, HMI connections and a storage device. Many embedded boards such as the Owl have small format locking connectors that make it easier to embed the board in a small enclosed space and which may be more suitable in high shock and vibration environments. This is great for deployed systems, but can be an inconvenience in a development environment. The cables and paddleboards in vendor-supplied cable kits make it easier to connect using standard USB and video connections.
It won’t be necessary to make connections to all ports when starting up an embedded board. For example, the Owl has both LVDS and DisplayPort++ video ports as well as an adaptor to VGA. You’ll probably need only one of these ports. The picture below shows all the ports with highlights on the ones that are typically used.
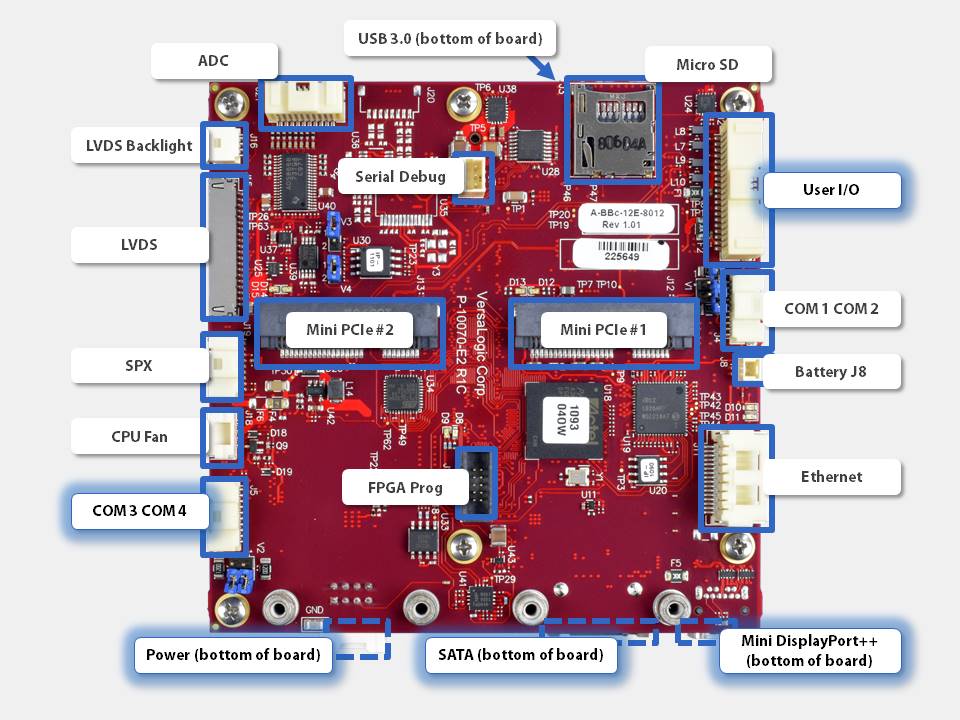 I/O Ports on the Owl
Cables in the cable kit are typically used for connection to specific accessories such as SATA drives or an ATX power supply. However, in some cases, ports might be better adapted for development purposes by use of a paddleboard. An example of such a paddleboard is shown below.
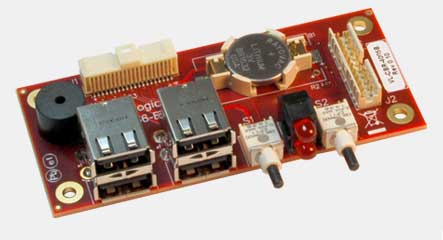 A typical paddleboard
The paddleboard shown above makes it easy to connect USB peripherals. It also has push buttons for power and reset. The battery provides power for the embedded computer’s real time clock.
Firing it up!
Connections have been made, now it’s time to turn on the power. All that’s needed is to turn on the display monitor and system power supply. Power-up is initiated by pushing the power button on the paddleboard as shown below.
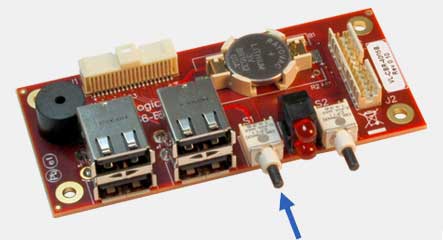 Paddleboard power button
The splash screen will appear to confirm start-up.
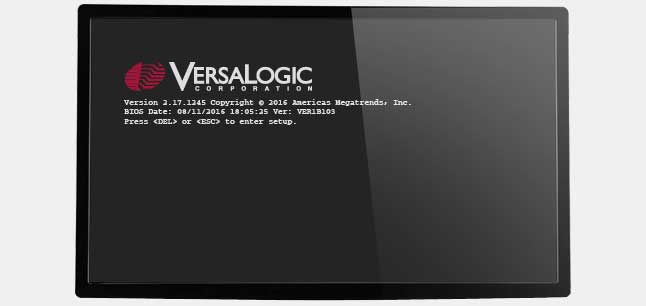 Start-up splash screen
In the example above, the entire process from starting cable connection to booting takes approximately two minutes and can be done without the need for expert hardware knowledge. If help is needed, each board has a comprehensive reference manual. In addition, VersaLogic’s expert pre- and post-sales support team is available to answer questions.
Need additional Information?
Want to know more about VersaLogic’s range of embedded products? Let’s start a conversation.